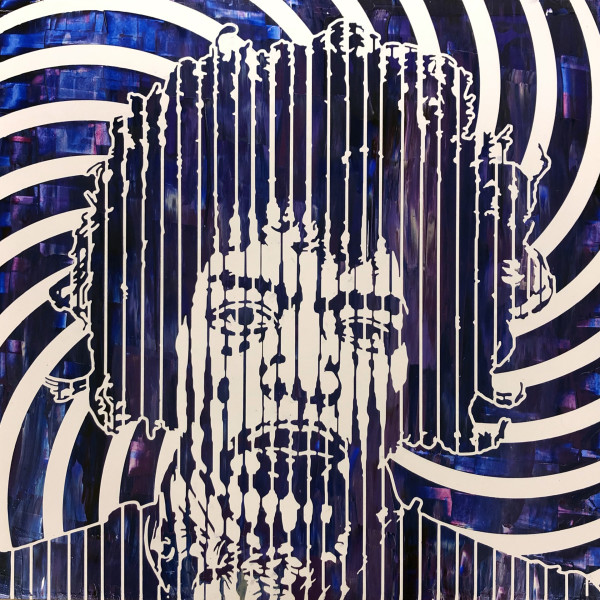
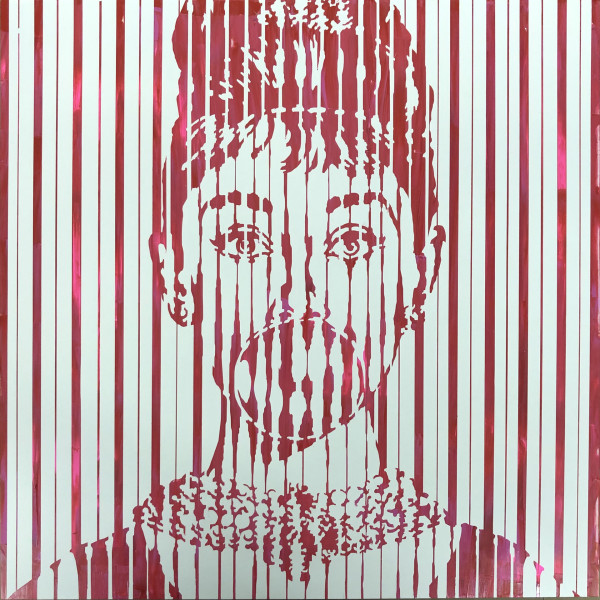
Artwork by Sean Christopher Ward. Artist from Wichita, Kansas.
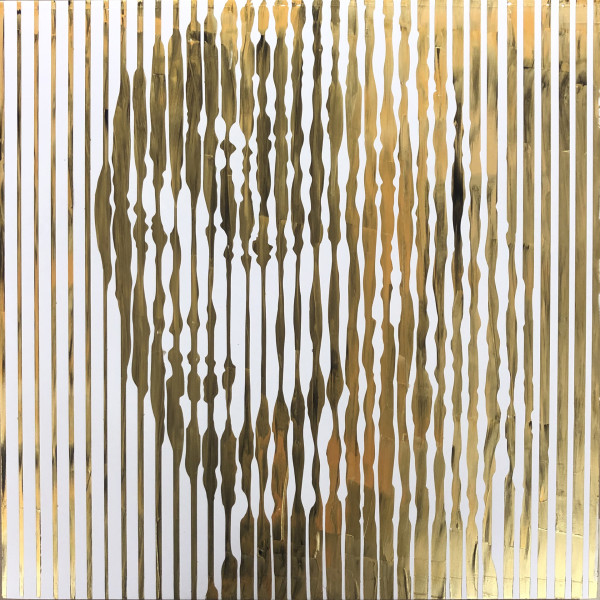
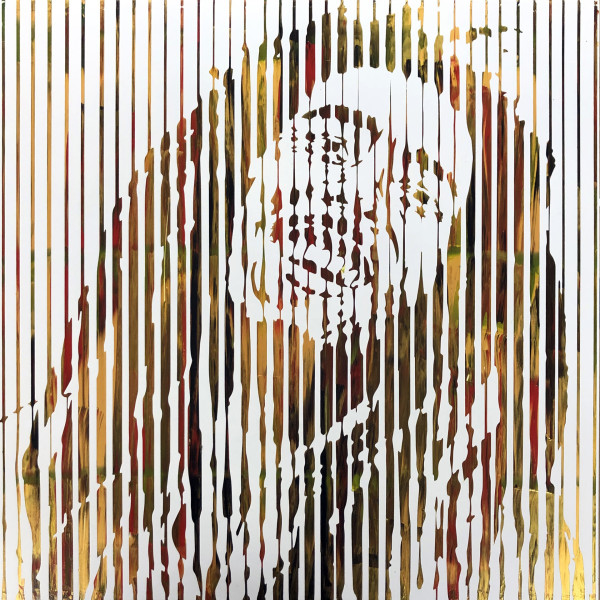
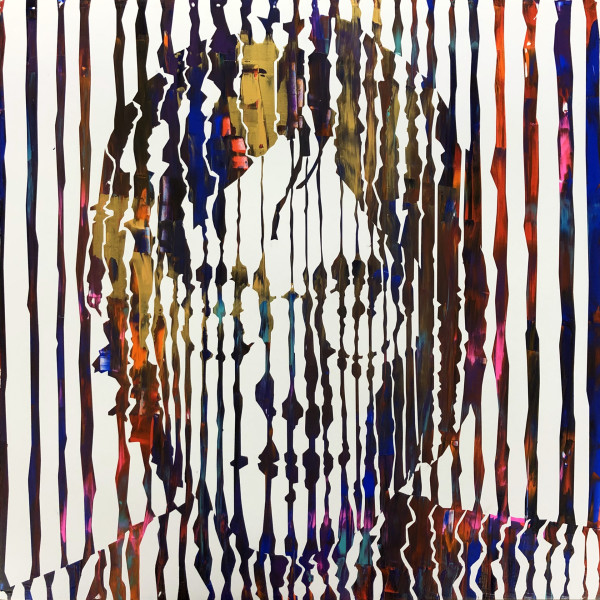
“Fading Identities” is an homage to the individuals of our past and present, who may not always be there as a picture-perfect image in your mind, but rather, as a general image of their identity. This is not something that is intentioned to occur, but it is just a process of being human and having fragments, or pieces, of these memories unavailable for recollection. Throughout the past several decades, there have been psychologists studying cognitive ability that have defined the two primary memory systems in the human mind. There is a short-term memory, or “working” memory that holds information about just a few things that are currently on the individual’s mind, but only for a temporary period. Then, there is a long-term memory that can hold immense amounts of information gained through the individual’s lifetime of thoughts and experiences. Each of these memory systems vary in the capable extent of the amount of detail that can provide to the individual. Working, or short-term, memory provides very detailed mental images about a few things that have been on the individual’s mind. While long-term memory is about providing a vast assortment of numerous details, but all to a less crystal-clear image, which the memories, based on their experiences and sights, might seem fuzzy to the viewer. Over time, it is inevitable that the memories begin to fade from their crystal-clear beginnings, and that is where science comes into play again. The information capacity of human memory has an important role in cognitive and neural models of memory, recognition, and categorization, because these process models implicitly or explicitly make claims about the level of detail stored in the individual’s memory. Detailed short-term representations allow more computational flexibility because they enable processing at task-relevant levels of abstraction, but this is traded off with the amount of additional storage available in the mind. We cannot always encode the details of these images perfectly, yet the human mind is a wonderful tool that consistently is able to interpret pieces of a memory and shape these mental forms into a successful recollection of the thought. Much like this process of memory, the façade of celebrity status is held on to in the same way. Whilst the celebrity is focused on by society the image remains clear, but as time progresses, the number of images of such celebrity flashing before the eyes of the viewer begins to dwindle. Over time, that celebrity’s image might fade, but pieces will always remain. Those pieces, like long-term memories, are preserved in the mind and in these paintings which thusly help keep the supports of our society alive within the mind.