
Additional Artworks
From Sean Christopher Ward
-
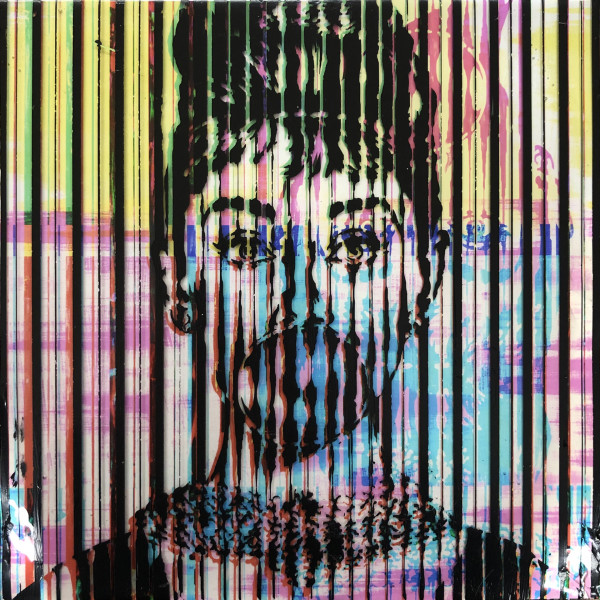
Nick Drake Collaboration - Bubble Pop Audrey Glitched, 2018
Acrylic and ArtResin on Wood Panel
8 x 8 x 1.5 in (20.32 x 20.32 x 3.81 cm)
-
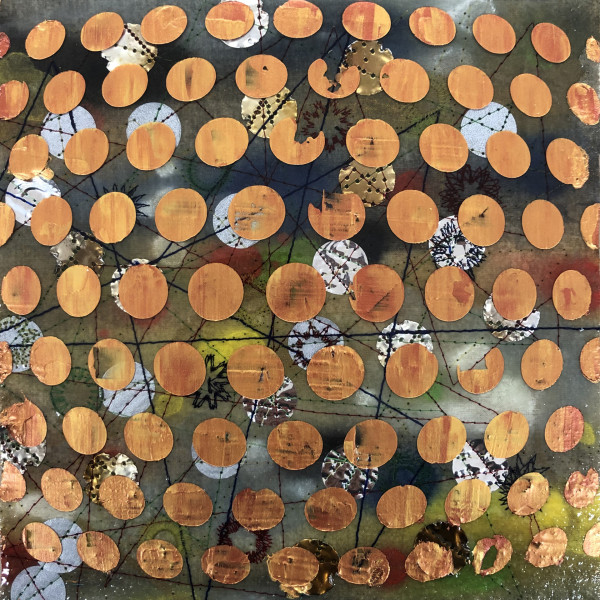
Malissa Long Wilson Collaboration - Interconnected, 2018
Acrylic and ArtResin on Wood Panel
8 x 8 x 1.5 in (20.32 x 20.32 x 3.81 cm)
-
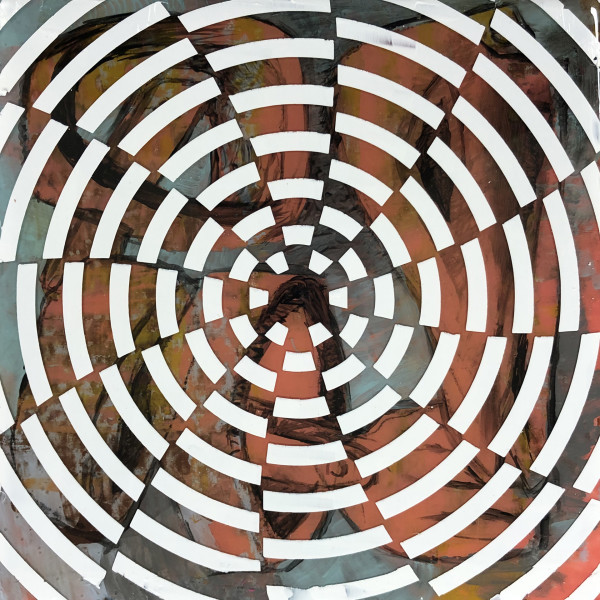
On Target (Collaboration with Jim Simpson), 2018
Acrylic and ArtResin on Wood Panel
8 x 8 x 1.5 in (20.32 x 20.32 x 3.81 cm)
-
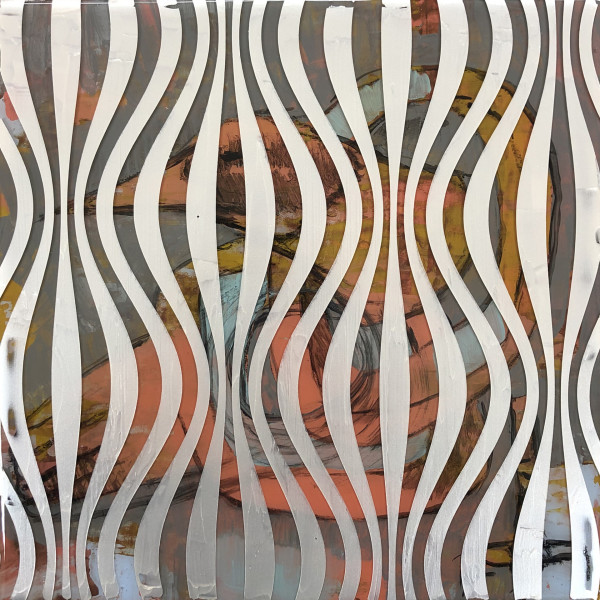
Caged (Collaboration with Jim Simpson), 2018
Acrylic and ArtResin on Wood Panel
8 x 8 x 1.5 in (20.32 x 20.32 x 3.81 cm)
-
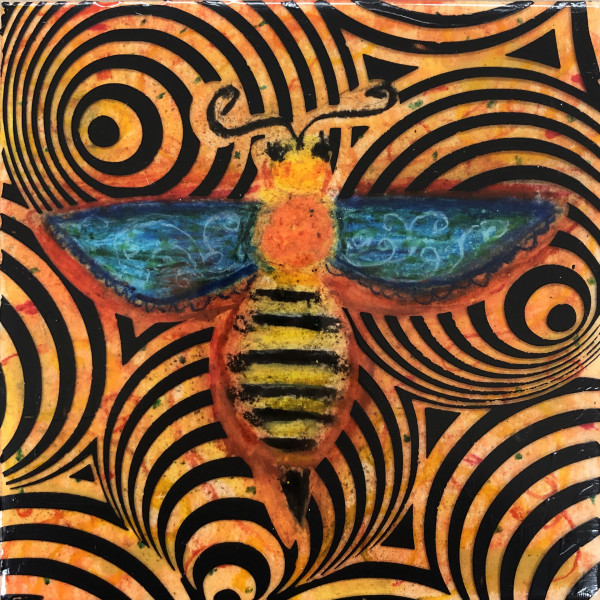
Buzzed (Collaboration with Delilah Reed), 2018
Acrylic and ArtResin on Wood Panel
8 x 8 x 1.5 in (20.32 x 20.32 x 3.81 cm)
-
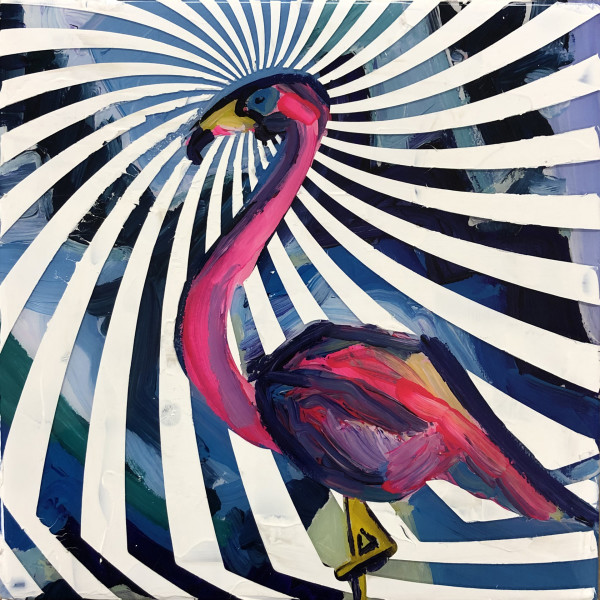
Posing (Collaboration with Dana Blickensderfer), 2018
Acrylic and ArtResin on Wood Panel
8 x 8 x 0.75 in (20.32 x 20.32 x 1.91 cm)
-
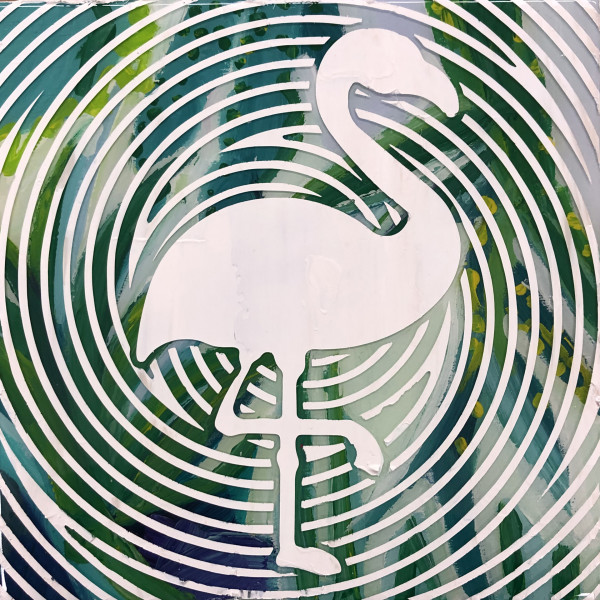
Flamingo Silhouette (Collaboration with Dana Blickensderfer), 2018
Acrylic and ArtResin on Wood Panel
8 x 8 x 0.75 in (20.32 x 20.32 x 1.91 cm)
-
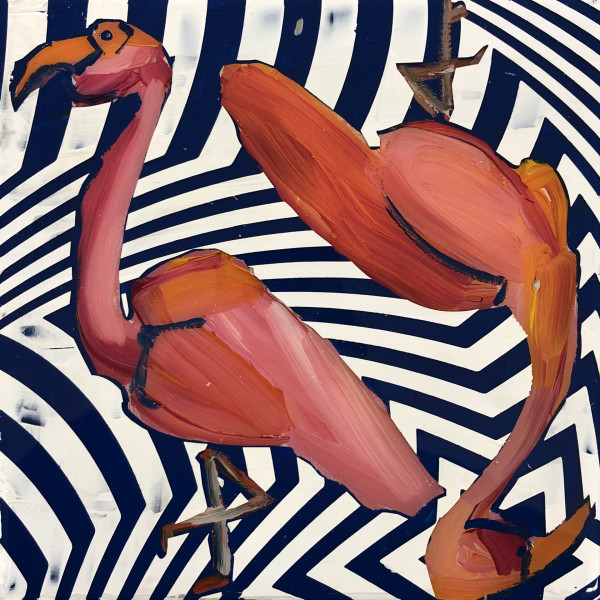
Flamingo Duo III (Collaboration with Dana Blickensderfer), 2018
Acrylic and ArtResin on Wood Panel
8 x 8 x 0.75 in (20.32 x 20.32 x 1.91 cm)