Skip to profile content

From Greg Butkus

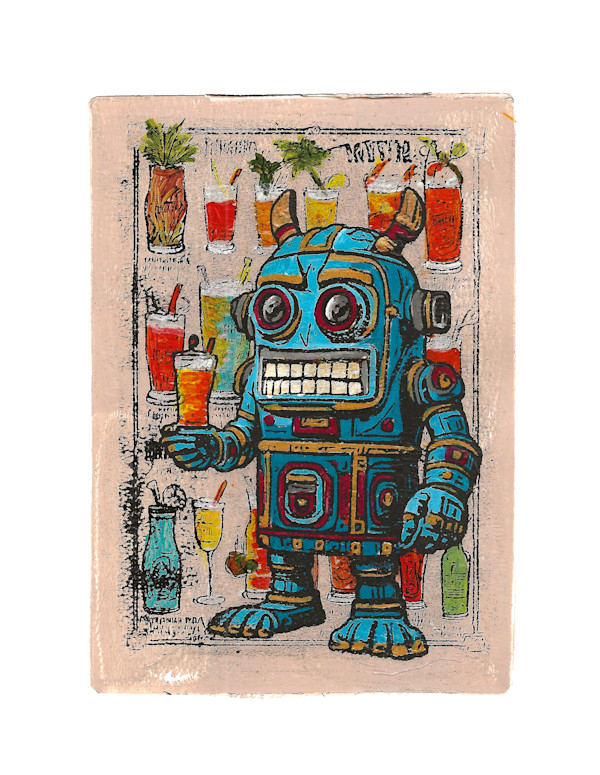
  1. Boozy Bots #9 - Bartender Bot - BluTan by Greg Butkus, Image 2.

    Boozy Bots #9 - Bartender Bot - BluTan

    Mono Print

    9 x 7 in

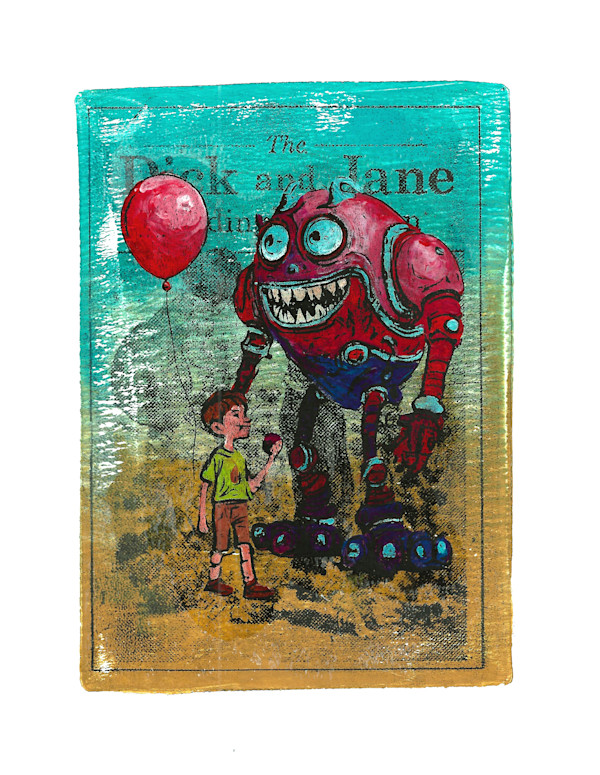
  2. D&J-BalloonBot_#1.1 by Greg Butkus, Image 2.

    D&J-BalloonBot_#1.1

    Mono Print - Acrylic

    9 x 7 in

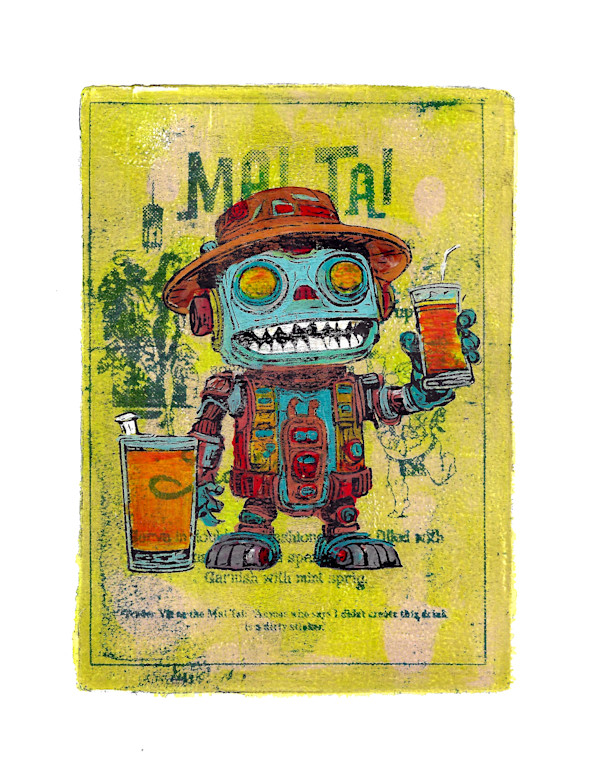
  3. Boozy Bots #1 - Mai Tai - YelBrn by Greg Butkus, Image 2.

    Boozy Bots #1 - Mai Tai - YelBrn

    Mono Print

    9 x 7 in

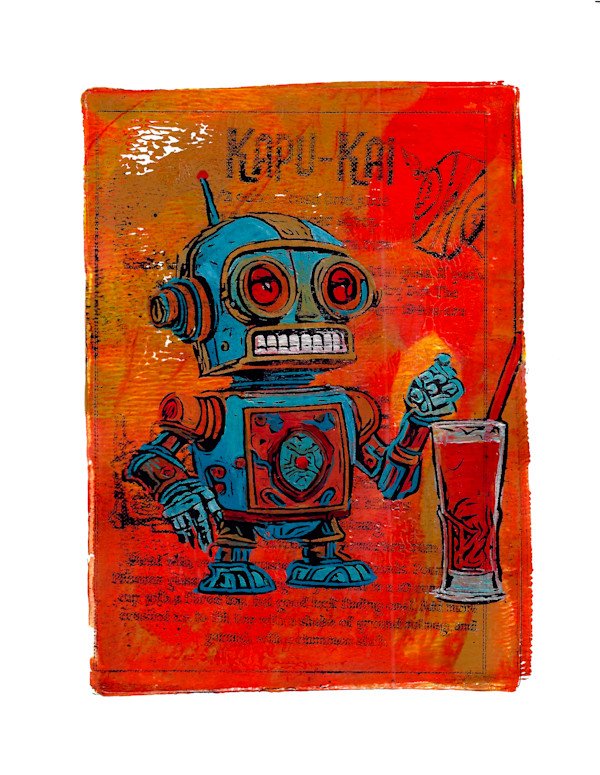
  4. Boozy Bots #2 - Kapu-Kai 3 - OrRd by Greg Butkus, Image 2.

    Boozy Bots #2 - Kapu-Kai 3 - OrRd

    Mono Print

    9 x 7 in

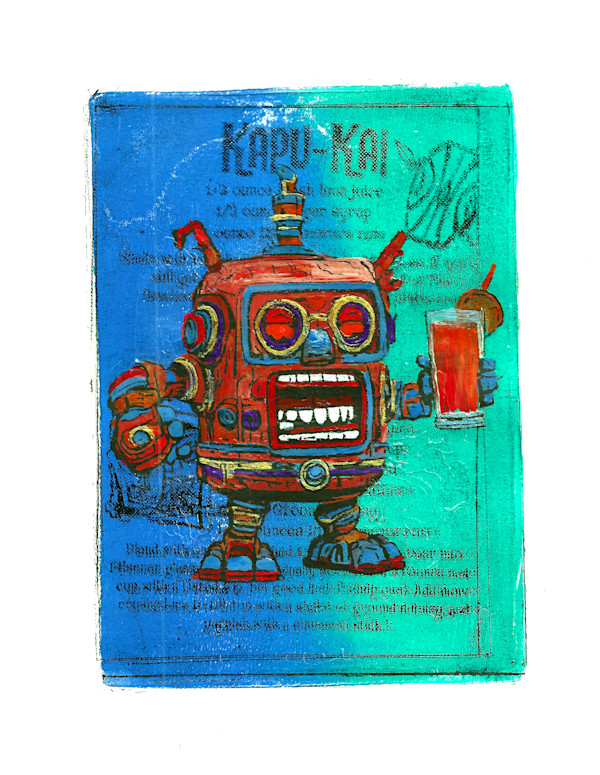
  5. Boozy Bots #3 - Kapu-Kai 2 - BluTq by Greg Butkus, Image 2.

    Boozy Bots #3 - Kapu-Kai 2 - BluTq

    Mono Print

    9 x 7 in

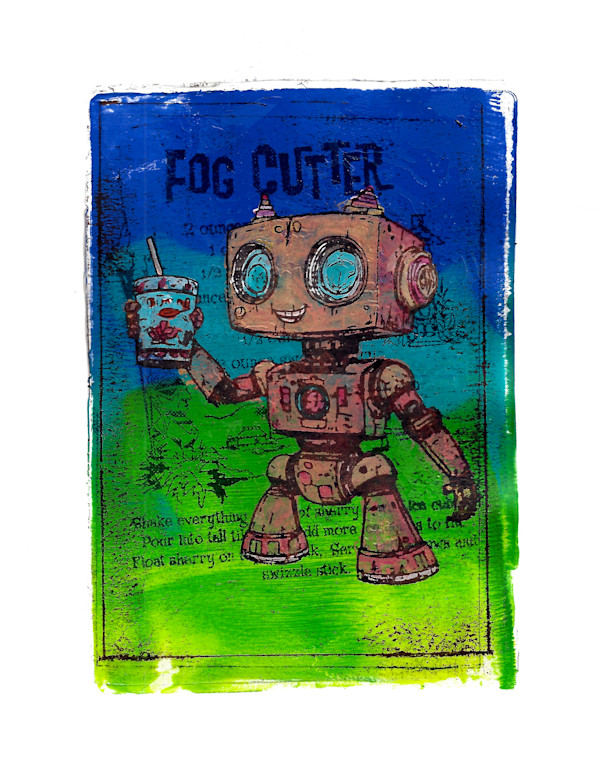
  6. Boozy Bots #5 - Fog Cutter - BlGrn by Greg Butkus, Image 2.

    Boozy Bots #5 - Fog Cutter - BlGrn

    Mono Print

    9 x 7 in

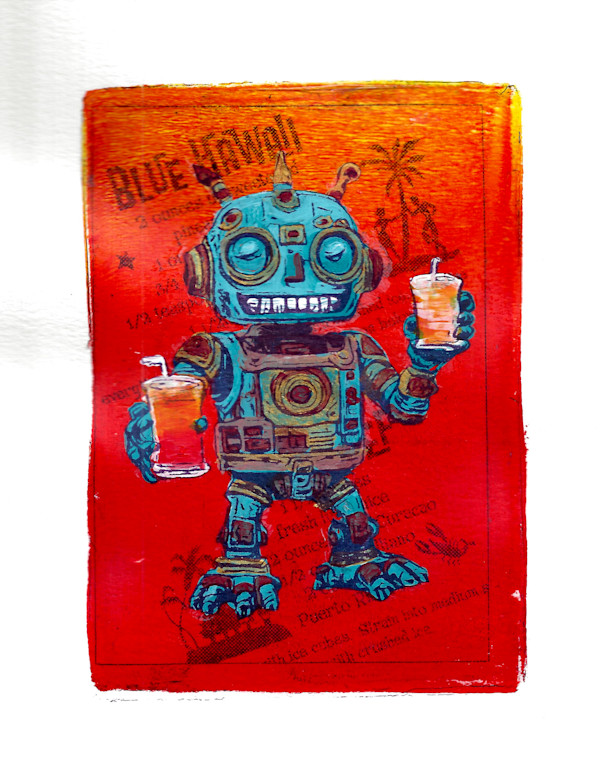
  7. Boozy Bots #6 - Blue Hawaii - OrRd by Greg Butkus, Image 2.

    Boozy Bots #6 - Blue Hawaii - OrRd

    Mono Print

    9 x 7 in

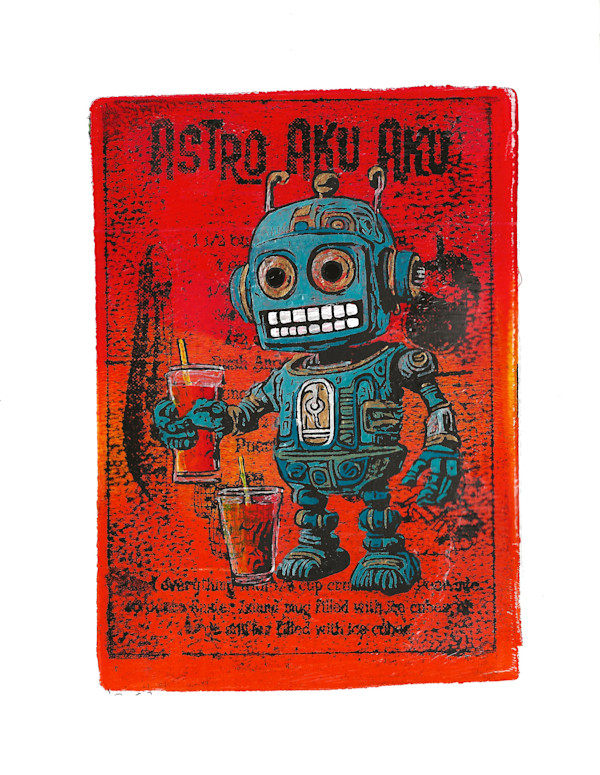
  8. Boozy Bots #7 - Astro Aku Aku - RdOr by Greg Butkus, Image 2.

    Boozy Bots #7 - Astro Aku Aku - RdOr

    Mono Print

    9 x 7 in