
Additional Artworks
From Bathurst Regional Art Gallery
-
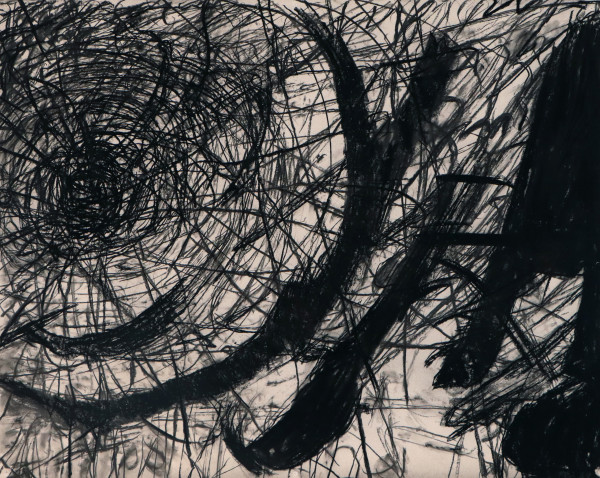
Mike Parr
The Webb, 1989
charcoal on paper
100 x 124 cm
-
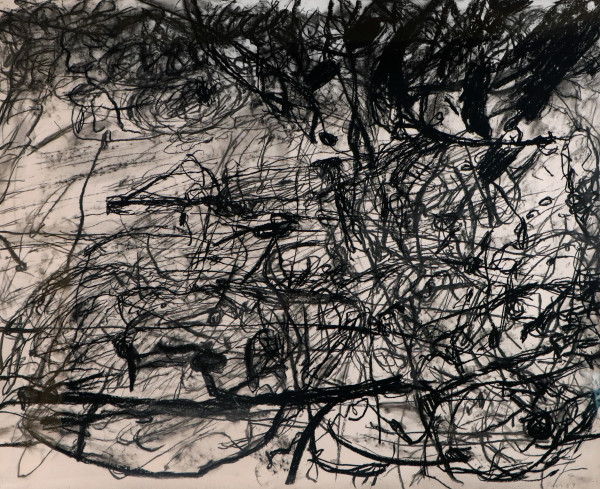
Mike Parr
Landscape of the Webb, 1989
charcoal on paper
104 x 124 x 35 cm
-
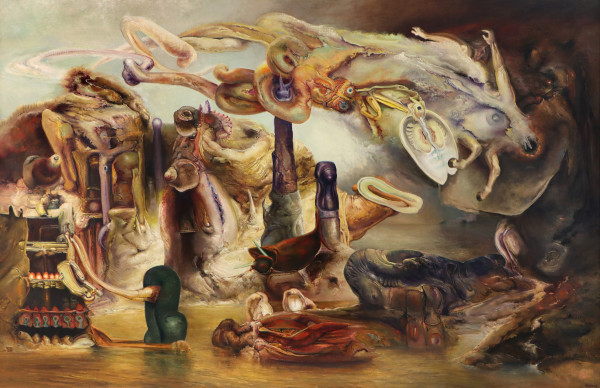
James Timothy Gleeson
The Coast Near Coolum Augumented by a Recollection of Mazzepa, 1985
oil on canvas
162 x 262.5 x 5 cm
-
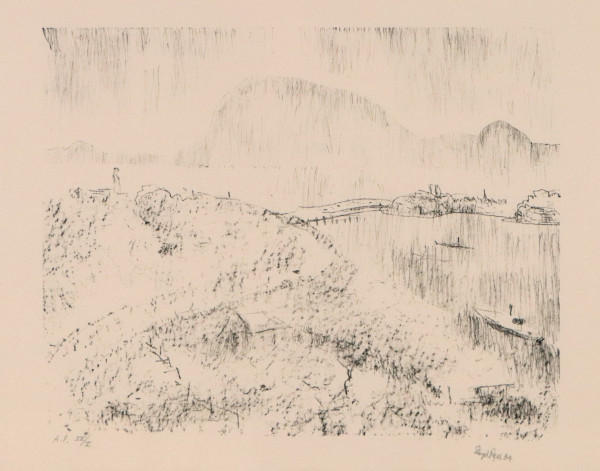
Lloyd Rees
The Derwent, Towards Tasman Bridge, Hobart, 1984
lithograph on paper
40.5 x 47.5 x 3 cm
-

Lloyd Rees
The Derwent, Hobart, 1984
lithograph on paper
44 x 52.5 x 3 cm
-
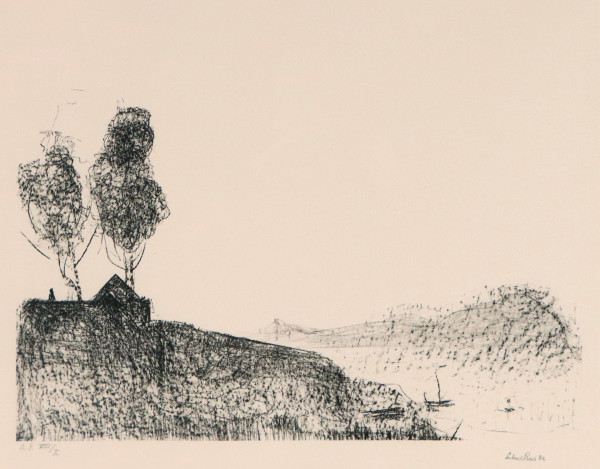
Lloyd Rees
Sunset, the Derwent, Hobart, 1984
lithograph on paper
43.5 x 52.7 x 4 cm
-
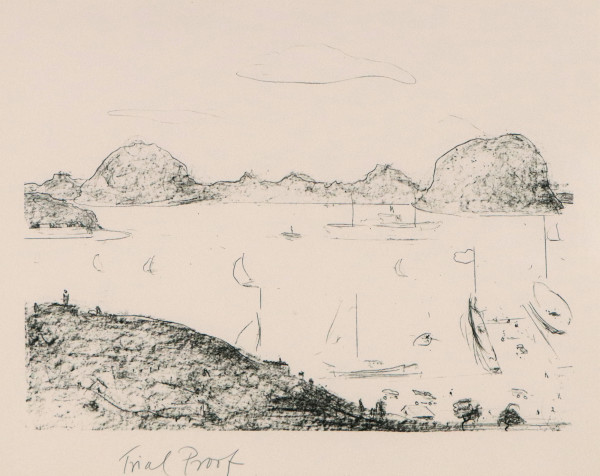
Lloyd Rees
The Derwent, Hobart, 1984
lithograph on paper
50 x 56.5 x 3 cm
-

Lloyd Rees
Untitled, 1983
lithograph on paper
50 x 63 x 3.5 cm